Showing posts with label boutique. Show all posts
Sunday, March 27, 2011
DVD Emergency Kits (on the go)
I found this idea on one of my Stampin' Up! leaders website, Amy Johnson. I thought it was so cute I had to make some for my boutique and of course to put in the glovebox of our van so it is on hand everywhere we go. Supplies: DVD cases (clear, sold in sets of 4 by Stampin' Up!) Designer Series Paper 6" x 8" Cello (cut down to 4" x 8" to contain the medicines) Whisper White cardstock (to print the contact list on) Sticky Strip to hold the contact list on and the cello bag. Embellish as desired Medicine Contents: Band-Aids, DayQuil, NyQuil, Benedryl, Advil Sinus, Trident gum, Copy of the medicine labels (I cut them off the boxes and laid them out so I could get them all on one sheet). I would have put Tylenol in them but could not find them ANYWHERE sold in individually in packets. The smallest I could find were in little round tubes that were too fat for the DVD cases. Everything else you can get from any drug store, pharmacy, WalMart, etc.
I made a large variety to choose from.
These little kits are great for purses and gloveboxes to take on the go and the case protects all of the contents and keeps them all in one place so you're not searching for something that will work. Something else you could add to these are the individual packets of sanitizer wipes that are great for clean hands, or cleaning a small wound before applying a band-aid.
Wednesday, March 23, 2011
DVD Case Stationary
I saw this idea on one of my Stampin' Up gals blogs and had to make some of my own to take to a boutique. They're super simple and quick to make.
Supplies:
Clear, blank DVD case (sold in sets of 4 through Stampin up).
Designer Series Paper
Envelope
Note pad (I cut a 5" x 8" pad down to 4 3/8" x 7" using my Fiskars rotary cutter.)
RSVP pen
Sticky Strip (to adhere the envelope and notepad to the DVD case.)
Embellish as you desire (ribbon, buttons, clips, glitter, etc.)
Supplies:
Clear, blank DVD case (sold in sets of 4 through Stampin up).
Designer Series Paper
Envelope
Note pad (I cut a 5" x 8" pad down to 4 3/8" x 7" using my Fiskars rotary cutter.)
RSVP pen
Sticky Strip (to adhere the envelope and notepad to the DVD case.)
Embellish as you desire (ribbon, buttons, clips, glitter, etc.)
Thursday, March 17, 2011
Pot of Gold
I thought this would be the perfect post for today. I made these for the boutique I was in last week. I used the Petal Cone Die and cut the bottom off and made it into a box. See the post below for the chocolate box for a link to a full tutorial.
Tuesday, March 15, 2011
So Much Chocolate, So Little Time
MMMMMMmmmmmmmmmmmmmm! I just love this stamp set!
Sunday, February 20, 2011
Carrot Cone
Supplies needed:
- Petal Cone Die
- Pumpkin Pie cardstock & marker (carrot texture)
- Wild Wasabi cardstock & ribbon (retired)
- Whisper White cardstock
- Basic Black cardstock & marker
- Uniball White Gel Pen (eye highlights)
- Sahara Sand marker (paw marks)
- Blushing Bride Designer Series Paper
- Punches: Heart to Heart (nose & mouth), Large and Small oval (ears), 1 3/8" circle (head), 1/2" circle (cheeks), 3/4" circle (paws), Owl (eyes)
- Crop-a-dile (punch holes for ribbon)
- Linen thread (to tie ribbon together to make it stand up)
- Glue Dots (makes it easier to assemble the bunny)
- Crimper--Optional (crimp paper then slice it and crumple it to make your own shredded paper)
Check out the goodies inside. Through all of the shredded paper you can see some eggs. They are Nestle Easter Eggs. MMMMMMM!!!The carrot was inspired by Debbie Henderson and the bunny was inspired by Dacia Smith.
Labels:
3-D,
boutique,
Carrot,
craft fair,
Easter,
Petal Cone Die,
punch art
Wednesday, November 10, 2010
Mindy Mae's Market
I'm participating in another boutique! I've been working like mad to get ready and have the perfect gift for your kids' teacher, co-workers, friends, and stocking stuffers (pics to come soon). They're sure to have much, much more. Make sure you put it on your calendar! Check out the website for the boutique: Mindy Mae's Market
Date(s)/Times: Friday November 19th 6-9pm, and Saturday November 20th 9am-6pm
Location: 712 N 1875 W Farmington, UT 84025 (It is in a Destination Homes model home)
There will be about 50 vendors there. I will also be doing a make & take. You will get 18 tags for Christmas for only $1! Put it on your calender and come check it out! Also, I have a flyer that I can e-mail you to get you $5 off a $50+ purchase. Let me know if you want one and I'll e-mail it to you so you can print one out for you....and your friends. :)
Date(s)/Times: Friday November 19th 6-9pm, and Saturday November 20th 9am-6pm
Location: 712 N 1875 W Farmington, UT 84025 (It is in a Destination Homes model home)
There will be about 50 vendors there. I will also be doing a make & take. You will get 18 tags for Christmas for only $1! Put it on your calender and come check it out! Also, I have a flyer that I can e-mail you to get you $5 off a $50+ purchase. Let me know if you want one and I'll e-mail it to you so you can print one out for you....and your friends. :)
Wednesday, September 15, 2010
Upcoming Boutique
I've been busy crafting for an upcoming boutique called "Simple Treasures" at the Farmington Legacy Events Center that is Sept. 22-25. Here are a couple items that are finished and I have a few more in the works. They've ben fun to make.
Labels:
boutique,
composition book,
craft fair,
Halloween,
post it
Thursday, August 12, 2010
July Club Projects
Bug pages are always fun!
I love the new half rhinestone stickers. They add just the right "bling" to this stamp.
Colors used: Blushing Bride, Concord Crush, Pear Pizzazz
Labels:
#2 box die,
boutique,
cards,
club,
craft fair,
scrapbook,
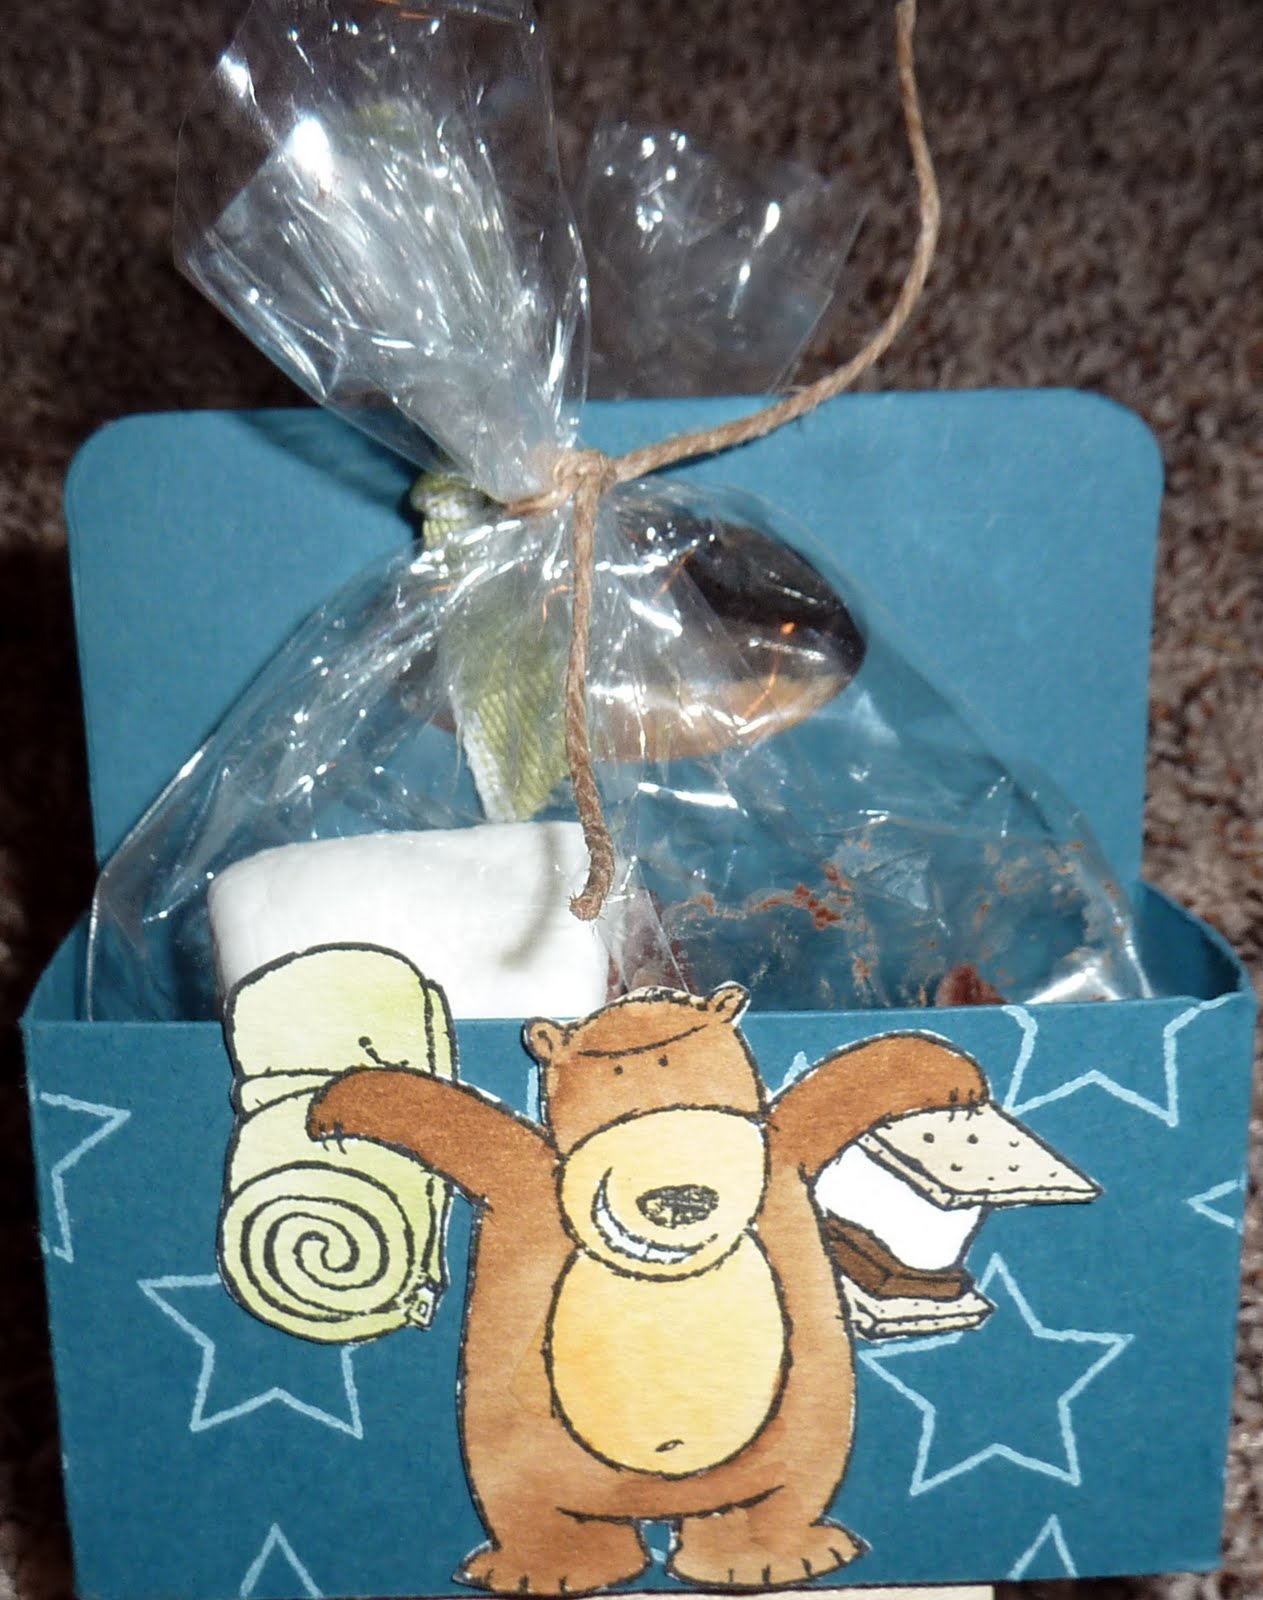
smore treat box,
spring
Friday, April 23, 2010
Rag Bags
I just got a scallop square die for my sizzix machine and have put it to good use. I've been busy sewing for an upcoming Boutique. It is located at the fair grounds in Farmington. Here's a little peek at what I've been sewing. I think they are so cute! I've made around 20 of them. The more you wash them...the more ragged they look.
This 3 x 3 size has one pocket in the middle on the outside side of the bag, perfect for keys and/or cell phone.
Side pocket on a 3 x 3 bag
The 2 x 3 size bags have a pocket on the outside side and inside side, again, perfect for cell phone and/or keys, etc.

Inside pocket on 2 x 3 bag

Inside and outside pocket view on the 2 x 3 bag

This is probably my favorite one...denim. SO CUTE! And it frays really well.
The 2 x 2 size is great for gifts, dress up, little items, scriptures, trick-or-treating, Easter bags and more. They have one pocket on the inside.
I just love the Tinkerbell one too.

I even have some gender neutral...

and little boy bags too.
Here are a couple of pics so you can see how a set of standard scriptures fit into the 2 x 2 bags:
As you can see, the pens fit nicely in the pocket on the inside along with your keys and maybe a phone.
Inside and outside pocket view on the 2 x 3 bag
This is probably my favorite one...denim. SO CUTE! And it frays really well.
I even have some gender neutral...
and little boy bags too.
If you're interested in purchasing a bag the pricing is as follows:
3 x 3 $25
2 x 3 $21
2 x 2 $17
I will have all my bags at the Boutique in Farmington April 28-May 1. If you want to purchase one before or after the Boutique just contact me by phone, e-mail, or leave a comment and I'll get back to you. I also take special orders if you have something specific in mind.
Next on my major project list is to make a Cinderella dress for Jade's birthday and to design a diaper bag with flap and matching baby blanket for my new little boy that will be arriving in 3 months. I can't wait to share them.
Labels:
boutique,
craft fair,
fabric,
purse,
rag bag,
scallop square die,
sewing
Friday, February 26, 2010
Mini Milk Cartons
I must say I just LOVE these little things. They're great for small gifts and treats. I have made a bunch for an upcoming boutique and am working on embellishing them. Below is just a few of my newest creations.

Labels:
3-D,
boutique,
craft fair,
milk carton die,
treat box
Monday, May 18, 2009
Tag Tin
I found this cute tin at Roberts for $1.99, again cheaper with a coupon. It makes a cute gift that is cheap and easy without looking like it. Aren't we all looking for a little more bang for our buck and the 25th hour of every day?
I started out by measureing the bottom of the tin below the lid and cut a strip of paper that would cover the tin and over lap by about 1/2". I used Tombow to adhere the paper to the tin. If you've never heard of Tombow, it is a fantastic adhesive sold by Stampin' Up! or craft stores near you. It works extremely well at sticking paper to things like chipboard and tin. It dries quickly, so make sure you straighten it out quickly and only glue one side at a time. I put my seam on the side seeing as it was that way on the tin itself. I then tied random pieces of ribbon that I had on hand and that matched my paper onto the handle. This took about 3-5 minutes. I added the red ribbon in the middle, and a little element.
For the tags, I cut 10 strips of white cardstock measuring 2 1/2" x 5" and then folded them to make 2 1/2" square tags. I used the Eight Great Greetings stamp set from the Stampin' Up! Occasions Mini Catalog, markers, scallop circle punch, 1 3/8" and 1 1/4" circle punches, corner rounder, word window punch, and a crop-a-dile (or 1/8" circle punch). I also added a little glitter to most of the cards to add a little shimmer. You could use any set you have on hand and make them all the same, or different. It is up to you. I made 2 each of 5 designs for a total of 10 tags.
I then cut 8" strips of silver cording and shoved them in the bottom of the tin for the recipient to tie on later. This is what it will look like when tied.
I started out by measureing the bottom of the tin below the lid and cut a strip of paper that would cover the tin and over lap by about 1/2". I used Tombow to adhere the paper to the tin. If you've never heard of Tombow, it is a fantastic adhesive sold by Stampin' Up! or craft stores near you. It works extremely well at sticking paper to things like chipboard and tin. It dries quickly, so make sure you straighten it out quickly and only glue one side at a time. I put my seam on the side seeing as it was that way on the tin itself. I then tied random pieces of ribbon that I had on hand and that matched my paper onto the handle. This took about 3-5 minutes. I added the red ribbon in the middle, and a little element.
Subscribe to:
Posts (Atom)